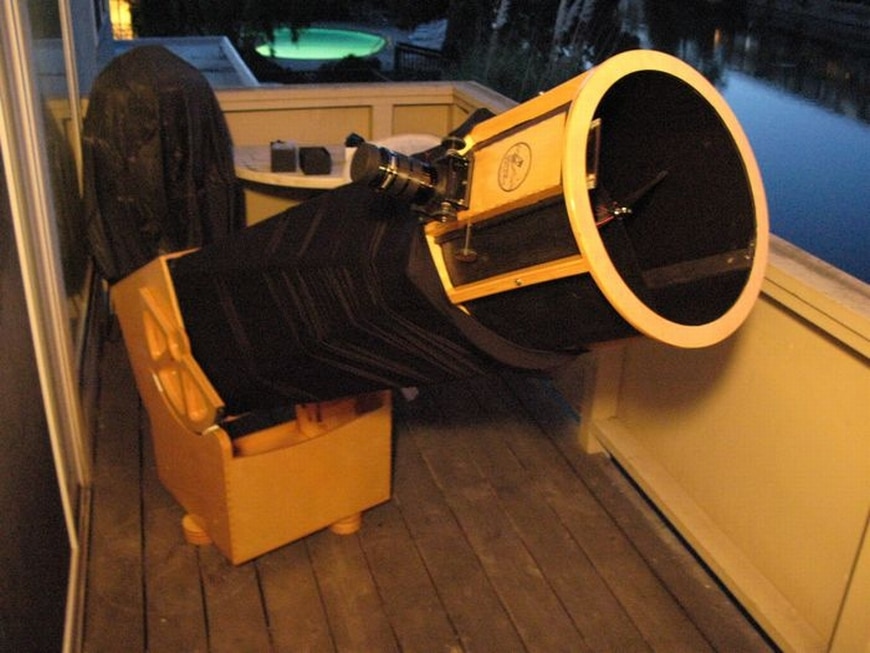
Well it didn’t take long to discover some things I wanted to improve on my telescope. My first problem was that I over tightened the screws for the spider too much and that actually broke one of the ribs in the upper cage. Below is information on the fix to this problem as well of things I changed. I owe a lot to a fellow astronomer that I recently met, who help encourage me to customize the Telekit and really make this telescope mine. Greg LaFlamme has helped me get this scope to the final stages and has also provided many hours of information and help in searching the skies.
Rocker Box Modifications
As initially configured I had to place 4 pounds of extra weight on the front end. Greg and I found the proper balance point and moved the bearings down about 1.5 inches. We needed to move them horizontally as all the weight on the upper cage is on the same side. Now when I go to zenith the scope holds position.
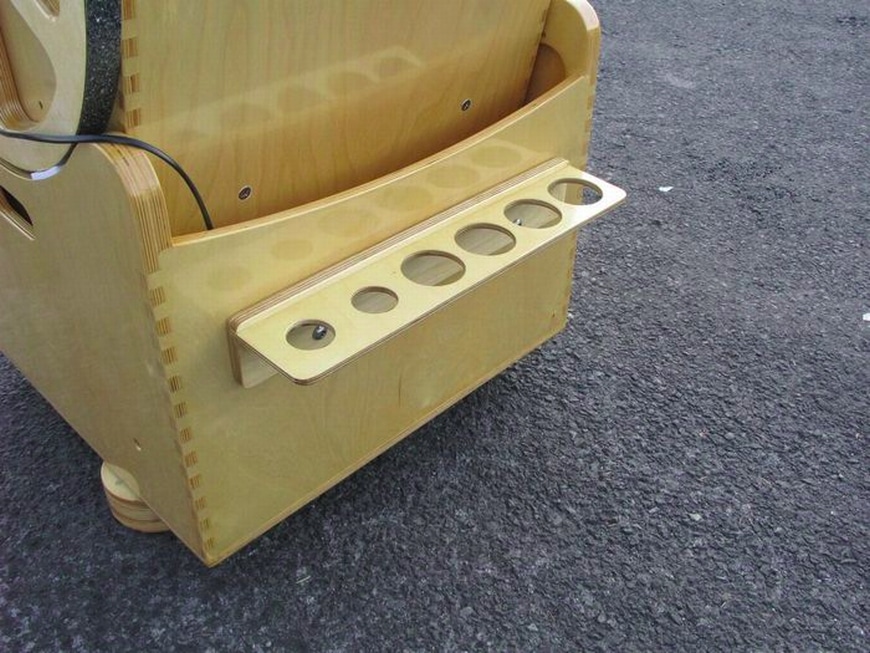
We cut two hand holds in the rocker box to make it easier to carry and load. I also moved the Teflon bearings closer to the bottom of the trough for the bearings so the vertical movement is as smooth as the horizontal.
I created a little eyepiece rack as I found I was constantly going back and forth from the car to the telescope to change eyepieces. My first use of the scope was in the summer, so I didn’t have any coat pockets, when its cold, there wouldn’t be a problem.
Truss Rod Modifications
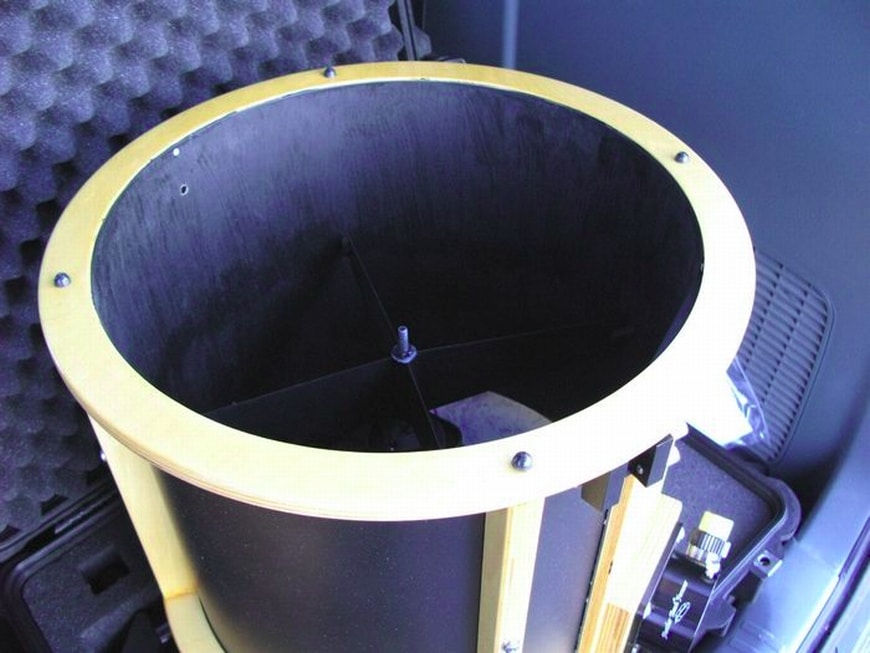
To help with the alignment of the upper cage and the truss rods, I added a dowel pin below each of the mounting shafts. This keeps the slots in the truss rod blocks square with the plates on the truss rods.
Modifications for Tear Down
As I used the telescope I found that I was sitting the upper cage on the ground as I took it apart and before I could put it inside the mirror box for transportation. I added little plastic feet to the top edge of the upper cage.
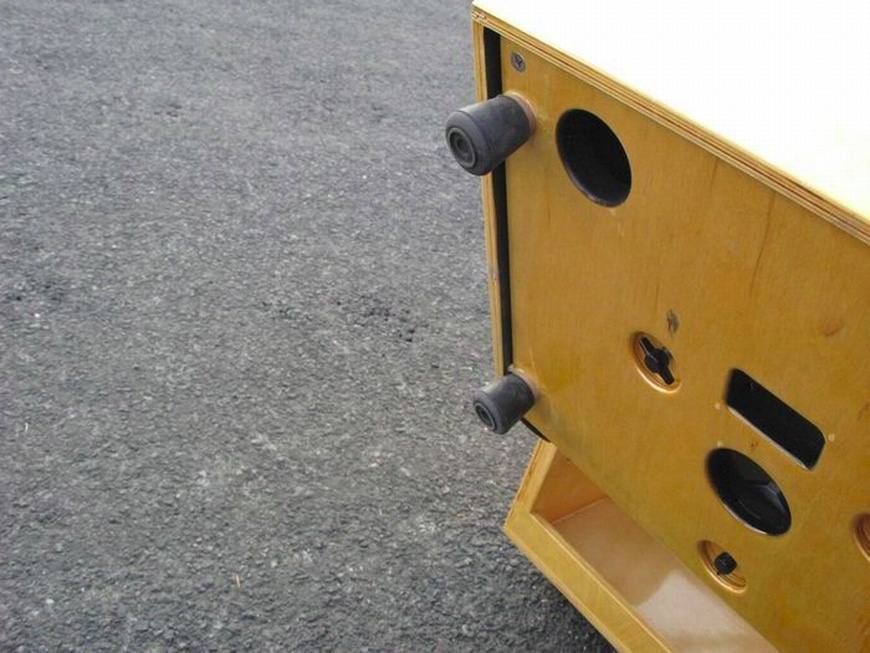
I also added some feet to the bottom of the mirror box for the same reason. I cut some 1 inch dowel and put rubber caps on them to make a heavy duty foot that would raise the whole unit about a 1/2 inch off the ground.
Sky Commander Installation
After my first night in a dark sky area, I had all kinds of problems finding the stars and things I wanted to look at. I added a set of Sky Commander digital setting circles. This involved adding the encoders to the rocker box and bearings. I built a little support to hold the computer. This is all wired together. Once we picked the right stars to align on, this system worked well. You simply enter the id of the object and it tells you how to point the telescope, or if you find something you can ask the computer to identify it for you.

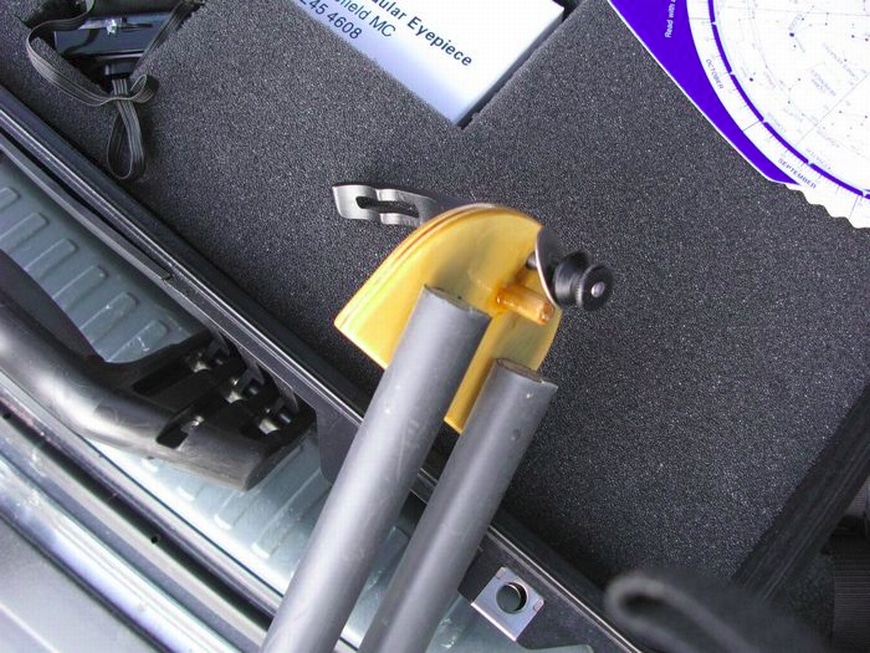
The first modification was to change how the encoder was mounted to the tangent arm. This arrangement allows me to remove the encoder and protect it. We also moved the tangent arm forward so it would be out of the way of the hand holds. From a plastic rod Greg made the encoder mount and threaded a thumb screw. The tangent arm is a light piece of aluminum and the cable is wire tied to it.
The tangent arm can be stowed when the rocker box is separated from the mirror box. Again a slice of plastic rod provides the mechanism for holding it in place. We used a shorter screw to position the other end of the tangent arm. We drilled a hole large enough to pass the cable and its connector through the side.
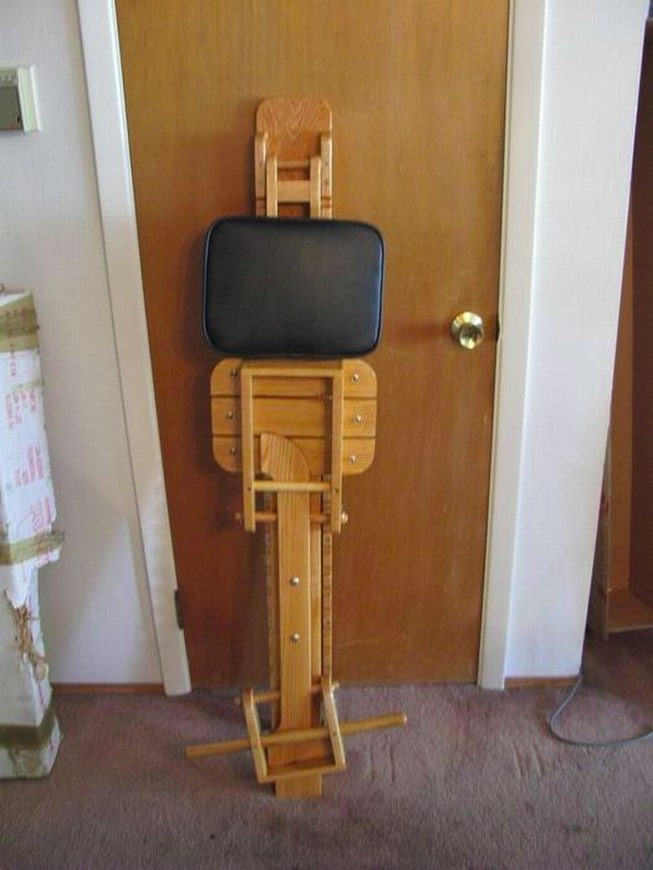
Catsperch Chair Modifications
I made some changes to the Catsperch as well. The stabilizing foot was already configured to be removed easily. I decided that I wanted to be able to stow these parts together. I drilled a couple of holes for the stabling foot and then wedged the seat and foot rest under the ends. The cushion is loose in this picture. I’ll probably get a couple of bungee cords to hold everything together. This now is one single unit that I can carry instead of multiple piece.